What you Need to Give Furniture a Refresh.
You don’t realize how important nightstands are until you all of a sudden don’t have them, right? We found ourselves in this position right after we moved into our home. At our rental, I had floating nightstands that were drilled into the wall. Since I knew I didn’t want to use those in this room, we were left without nightstands for a bit. Each night as I rolled over to plug my phone in or set my book down I couldn’t help but feel the urgency to get something for our bedsides.
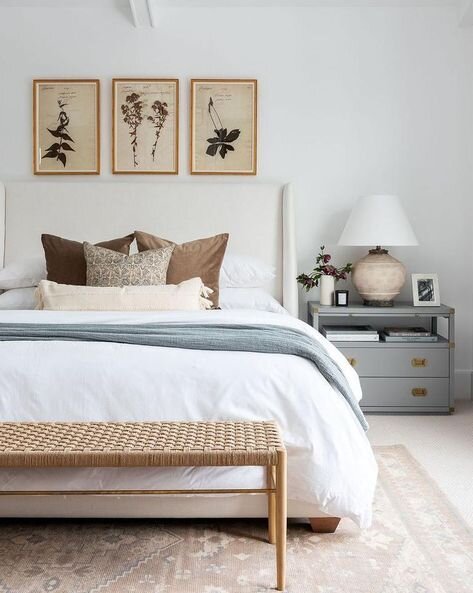
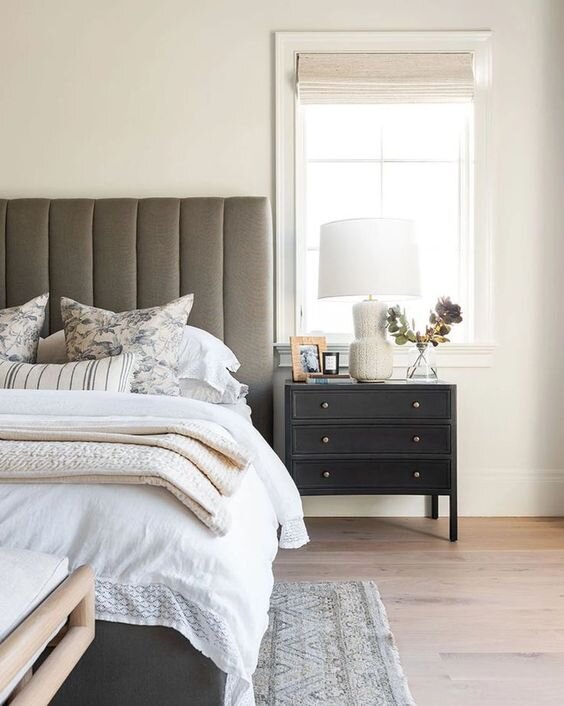
I looked through all of the inspiration pictures I had collected for our bedroom and kept seeing larger nightstands that were either matching or similar enough that they complemented one another. I spent hours surfing Facebook Marketplace in search of the perfect pair/options. What I was repeatedly seeing was people selling already flipped ones for high prices, which isn’t my jam because I can do that myself. As I was searching, I wanted to make sure that they were either real wood or a material that could be painted. I wanted them to have at least one drawer, and if they had levels that would be a bonus so I could add decor to it.
During the week that I was hunting for these nightstands, I ended up stopping at The Salvation Army near my house. When I walked back towards the furniture area I immediately noticed there were TWO MATCHING NIGHTSTANDS! I mean…what are the odds, right? I saw they were marked $14.99 each, which really was the cherry on top of the discovery. These nightstands were the perfect size, real wood, had drawers + two levels, and also were on caster wheels which added the vintage character I was looking for. It was a big-time SCORE for me!
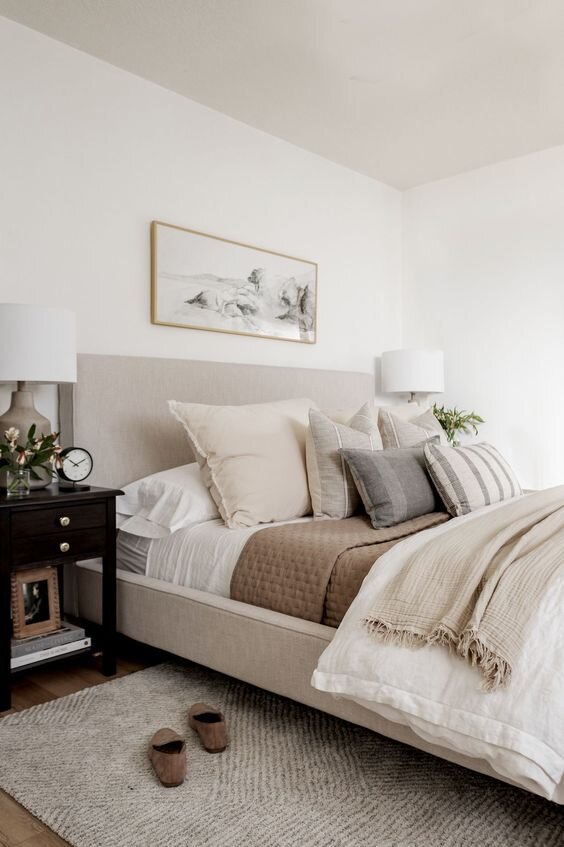
After bringing them home, I got to brainstorming what I wanted the final look to be. I landed on making them black with some brass hardware. As they sat in our home for a couple of days, I did realize there was a subtle smell to them. I knew this wouldn’t be a big deal, but I would have to adjust my cleaning method.
Onto Transforming

Step 1: Bring your furniture item outside to a
well-ventilated area
Step 2: Begin cleaning your piece of furniture. If your furniture has a smoke, musty, or lingering animal pee smell try to use equal parts white vinegar + water and let it sit out in the sun to dry. This I have found works well with these types of smells. If your piece of furniture doesn’t have a smell to it, then you could use a TSP + degreaser cleaner or just gentle soap and water.


Step 3: Check to see if your piece is real wood.

Do so by noticing:
How the drawers are assembled, if they are notched together then they are real wood.
If there is an engraved creator on it.
The back doesn’t look like particleboard
How heavy the piece is.
If there is a veneer on the top, bottom, or sides.
If there is real wood grain on it.
Step 4: Patch any holes or dings in the piece with a spackle. I love using this one for most projects, but some may require a heavier-duty wood filler. Make sure if you plan to stain that you use a stainable wood filler.
Step 5: If the piece is real wood, then sand it down! If it isn’t real wood, you can still lightly hand sand to scuff the surface a tiny bit so the paint will stick. I like to use this sanding block for those jobs, you just secure your sandpaper to it and it makes hand sanding a lot easier. If you’re using a motorized sander I would recommend an orbital one. We use this one from Milwaukee. Don’t press too hard with your sandpaper/sander though. Depending on what finish you’d like on your real wood furniture you could either sand all the way down so you have the option for stain, or you can stick to a light scuff up if you’re planning to paint. Make sure you start with low-numbered grit sandpaper first, for example, start with 60 or 80 grit and work your way to the finer grit 220 for a smooth finish.

Step 6: If your piece isn’t real wood you’re definitely going to need a primer like the Zinsser Bulls Eye 1-2-3 first, I like to use the water-based one. This is great to use on IKEA pieces or particleboard. For our nightstands, even though they were real wood, I decided to use this. I used this primer because of the subtle smell they had. This primer is a great way to mask the old smell and also gives your paint something to adhere to with great coverage.

Step 7: Go in with your desired paint. For this project, I actually used black paint that I had on hand from previous projects. I used the Glidden Flat Black paint that is premixed at Home Depot. I’ve used this paint on other projects and liked the color it provided, I feel it’s a true black and nothing too fancy. I did end up applying two coats of paint to it to ensure a perfect finish.
Step 8: If this will be a heavily used piece of furniture, I highly recommend using a top coat for protection. My go-to topcoat is the Varathane Ultimate Polyurethane Water Based Crystal Clear Matte finish (I do find it to be cheaper at Home Depot). When you apply it to your furniture don’t be freaked out when it goes on white, this is totally normal. Just make sure you’re applying even coats with little to no brush strokes. I love using a small foam roller like this one with this smooth surface roller (this pack comes with the roller, the container, and two different naps of rollers). I then use a smaller normal brush to get into hard-to-reach areas. This topcoat will dry completely clear and with a matte finish.

Step 9: Finish your piece off with some new hardware. I decided to get mine from Hobby Lobby because I knew they had a lot of options and I didn’t want to wait for some to come in from an online store. I loved that these looked a little weathered and vintage, but also had clean modern edging to them. They are extremely solid pulls and I would highly recommend them. These are the pulls I bought.
Step 10: ENJOY the new-to-you-transformed nightstands that you can be proud of!
Whenever I finish a flipped piece of furniture I feel accomplished and proud. It makes me excited to find my next piece to redo and make unique. I hope this step-by-step process to how I flipped these nightstands gives you the confidence to tackle a piece yourself. I’d love to hear from you if you have any questions about flipping furniture, where to get pieces, what materials to use or if you have a piece you’ve recently flipped that you love!


**Disclaimer: I may earn a small commission for my endorsement, recommendation, testimonial, and/or link to Amazon products in this post. Your purchase helps support my work in bringing you real information about products that you may want to use.