This $6.50 Tool Saved Our Furniture.

Let me ask you this, do you have a pet? If so, do you love them dearly and feel they make your home feel comforting? I can bet your answer was yes to the last question. This is why it’s hard to stay mad at your pet when they damage something in your home like a piece of furniture.
Being a pet owner means you’ve probably experienced some level of damage in your home from your furry loved one. Whether that be stains on the carpet from dirty paws, puke in not ideal places, potty mistakes where they shouldn’t be, cushions or shoes torn up, or claw scratches on items that aren’t the cat tree.
Today I’m here to talk about the last one I just mentioned. Yup, those claws that are inside those adorable little cat paws. Disclaimer: I do think this is more of a cat owner blog post, but if you do have a pup that has damaged your furniture before this may be helpful as well.


If you follow along on the @__untapped_potential__ Instagram, you may be aware that I recently scored a stylish, functional, and comfortable IKEA chaise lounge chair from Facebook Marketplace. I was so stoked to find this neutral white-toned chair in almost perfect condition. So let’s fast forward to Sunday evening when my husband Aaron and I come home from our weekend with family, to find that our naughty little cat Finnley had used the arm of the new chaise lounge as a scratching post even though she has one right behind it that she usually uses.


We were super bummed out and I could see that one of her claws clearly got stuck when she was scratching because it created a larger loop in the fabric. I knew not to cut any of the strings that had been pulled up because it would cause more fraying in the future. (These weren’t just broken pieces of string on the chair, they were looped snags that were pulled from a woven pattern.) I started by going to the internet where I discovered a common way to fix furniture fabric was with a felting needle. I watched a few Youtube videos and realized this was the route I was going to attempt with this chair. Which brought me to Amazon, where I found this felting needle set for $6.50.

It arrived 2 days later, so I got to fixing this chaise lounge chair. And boy, did this tool do wonders. I can’t recommend this tool enough! I mean, for $6.50 you get a kit of needles that will save your furniture or other fabrics in the future. Plus, if you ever want to take up on the hobby of felting little animals you totally could! Check out a video of felting animals here. HAHA

How I used this felting needle:
Step 1: Pick the size of the needle you’d like.
I didn’t really know what size was appropriate, but I picked one that didn’t seem to have too many rough edges to it and was small enough for the fabric I had. (Amature moment here, I’m sure I could have researched more, but I just went for it.)
Step 2: Start with smaller areas of damage.
Don’t tackle the largest area of damage first. Get the hang of the tool in areas where there may just be a little fray or snag pulled.
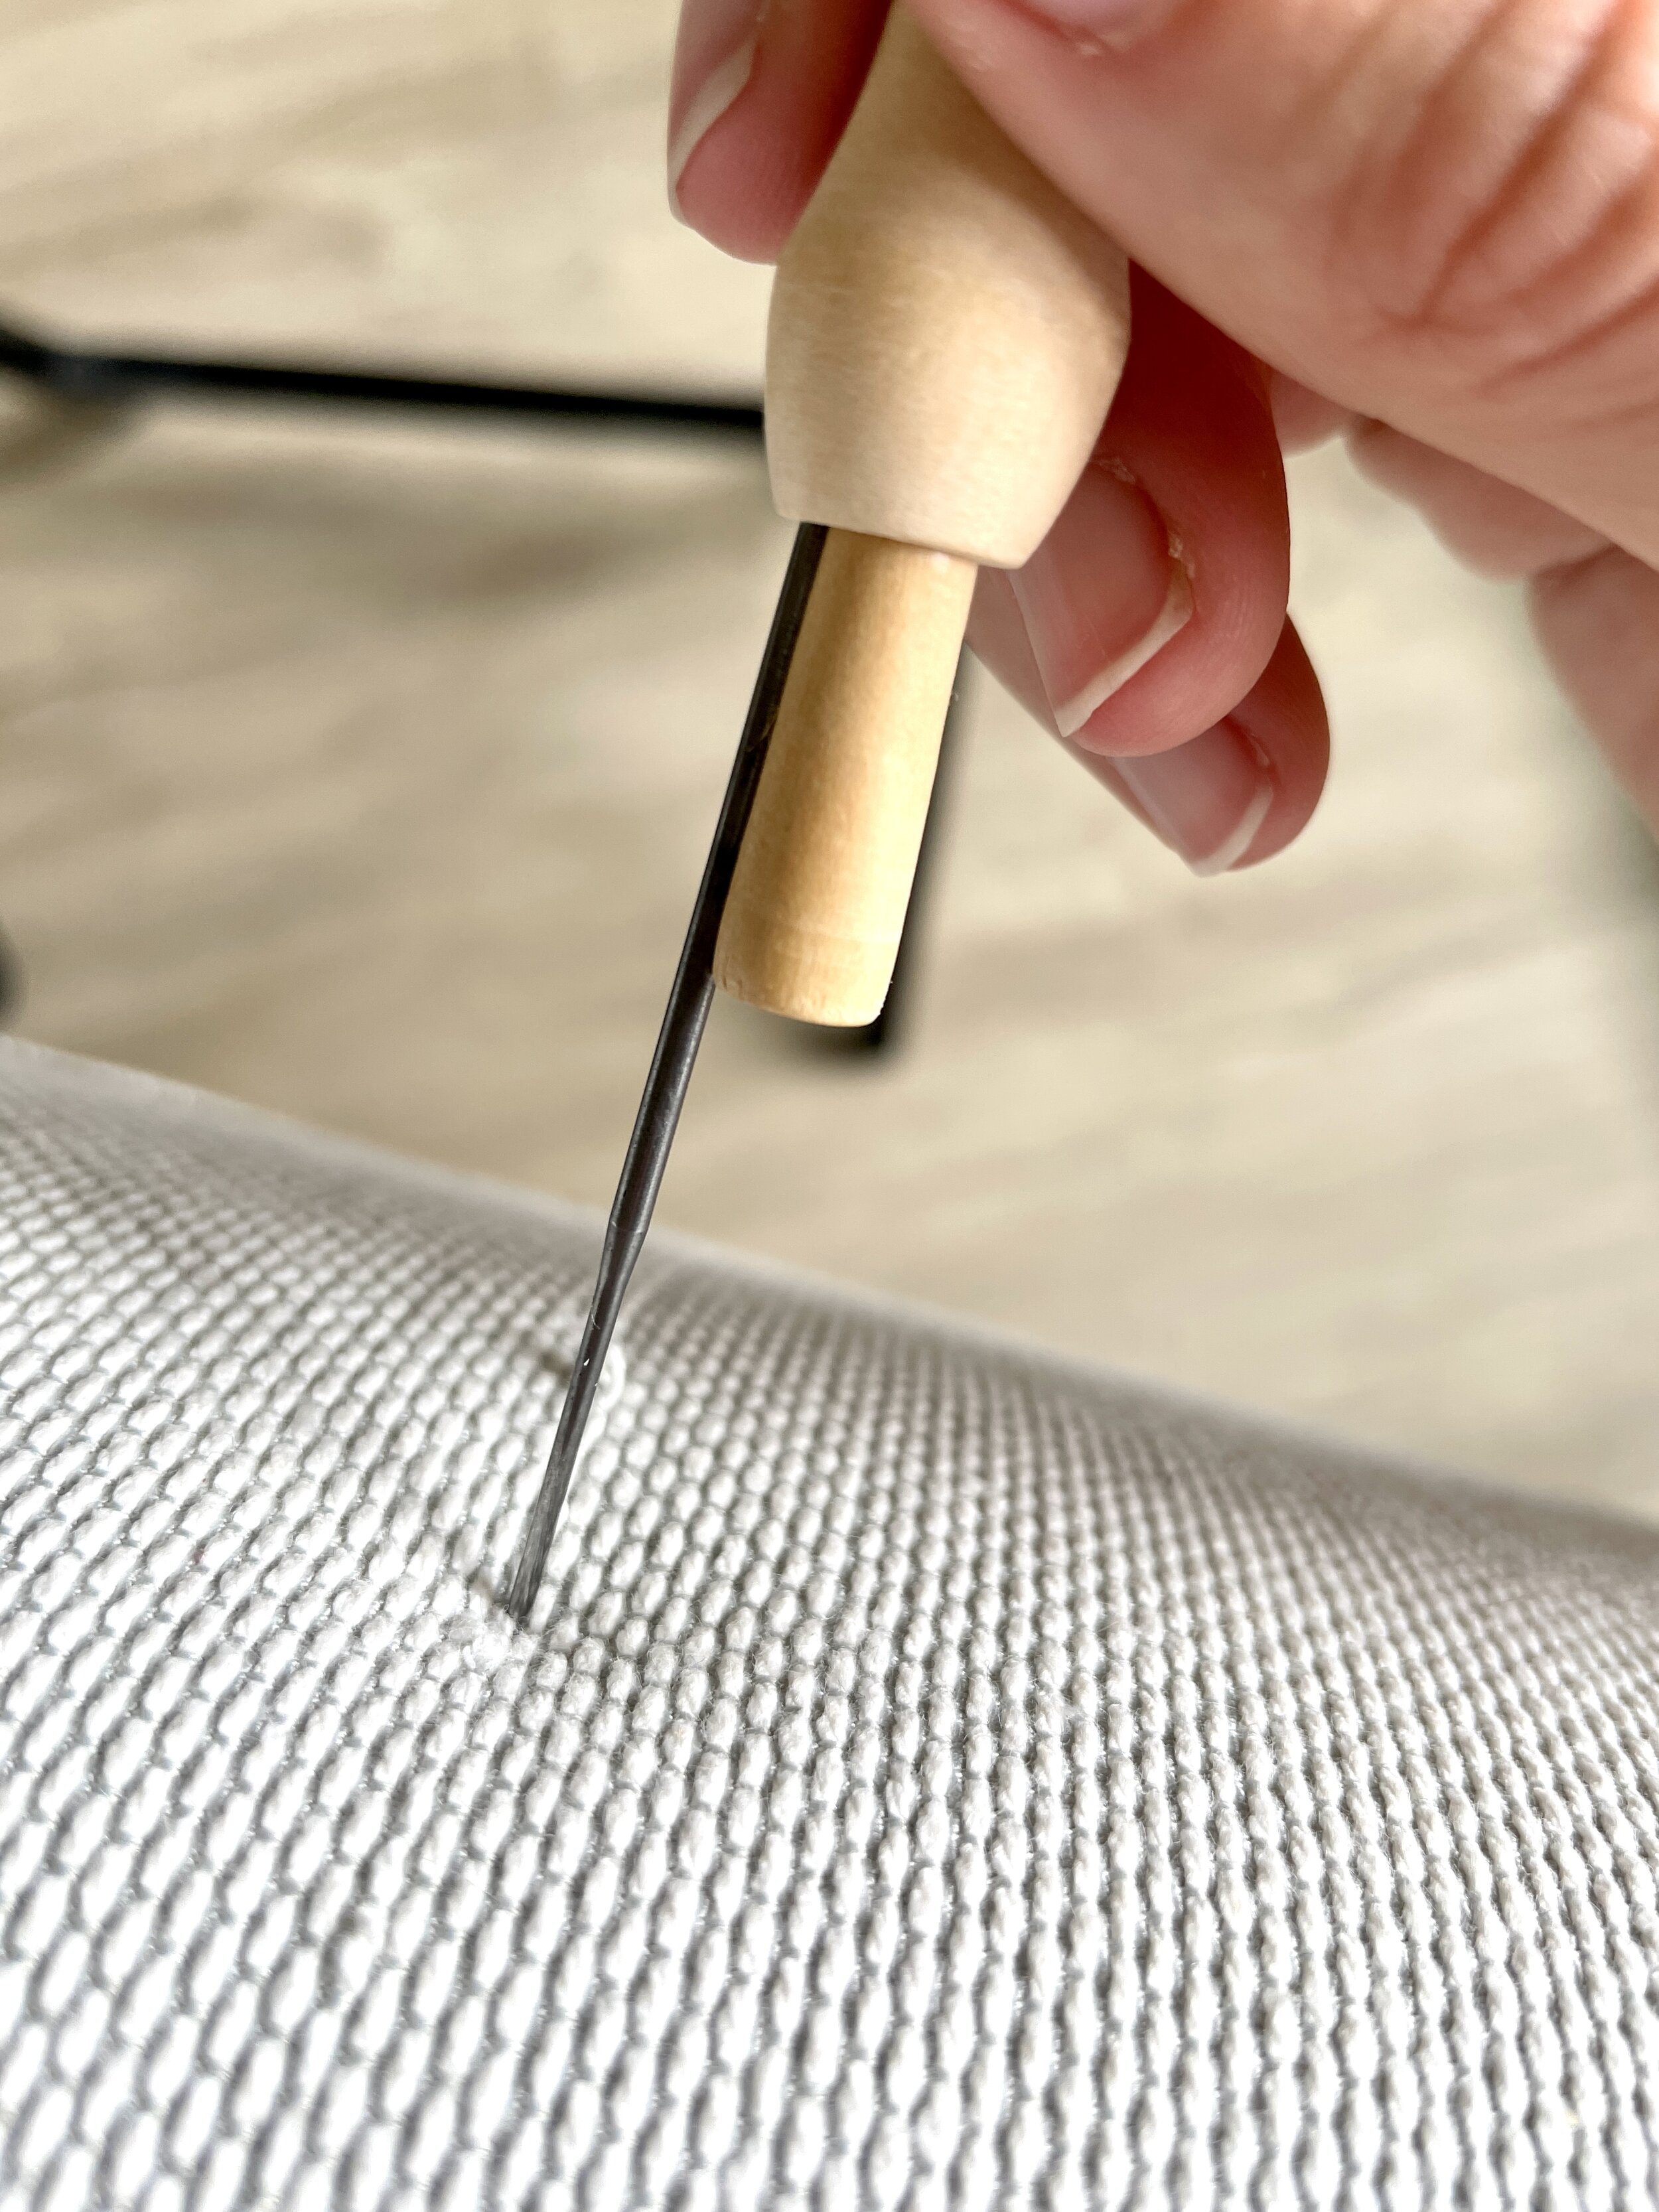
Step 3: Start the poking!
The act of needling this was very simple. I just took the needle and pushed it down into the fabric Since there are backward-facing grooves on the needle, the act of pushing it down and pulling back up keeps the loose fabric stuck in the furniture. The strings won’t come back up when you push them down. Here is the first video on youtube that I watched.

Step 4: Pay attention to the woven pattern.
If your furniture piece has a woven pattern as mine had, and you have a large loop that was snagged, you may have to pull that fabric down a bit to loosen up the tightly pulled part. What I mean by this is, don’t just needle that large loop into the area it was pulled from. Pull up some of the other grooves along that weave to loosen them up so it looks natural again. This will also lessen the loop size you had and you can evenly disperse the areas you have to needle.
Step 5: Enjoy your fixed furniture and have some ease knowing there is a solution for some of those snags!
Let me know in the comments below if this is something new to you or if you have used anything else in the past to fix your furniture snags?